1. What is an image?
Home | Next Page >>
Learning Objectives
- Begin exploring images with Fiji
- Understand the numerical nature of digital image content
Images are Numbers
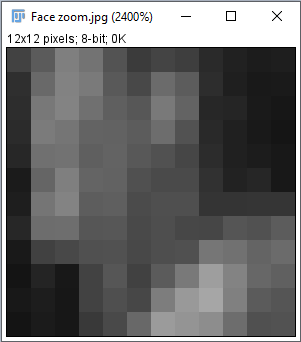
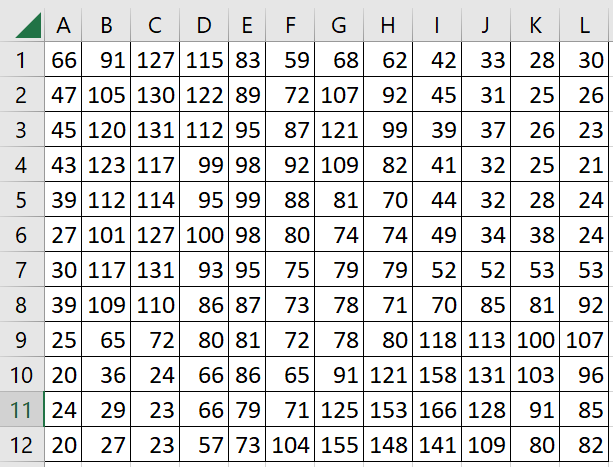
Digital images are composed of pixels. Each one of these is the visual representation of a numerical value.
Exercise 1:
- Open Fiji
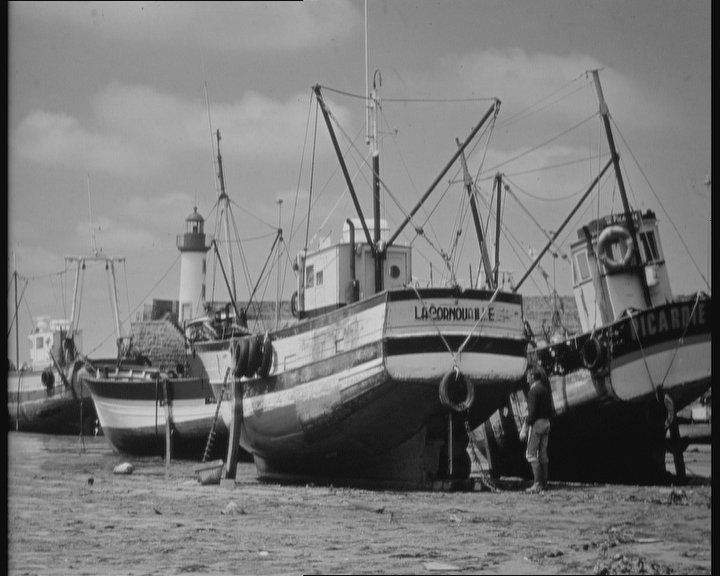
- Go to the search bar and type "Boats"
- Tip: The search bar is a wonderful feature of Fiji. Functions can be found directly through the toolbar, but this is typically much more tedious.
- You'll see in the Quick Search results that the alternative to running this shortcut would be to click File > Open Samples > Boats
- Hover your cursor over the different regions of the image and watch the values being displayed along the base of the toolbar.
- This is information refers to the individual pixel you are over: xy coordinates and value
- Navigate to the corners of your image and note where X and Y axes begin. This is not where you might expect and may have implications for how you interpret the measurements you extract.
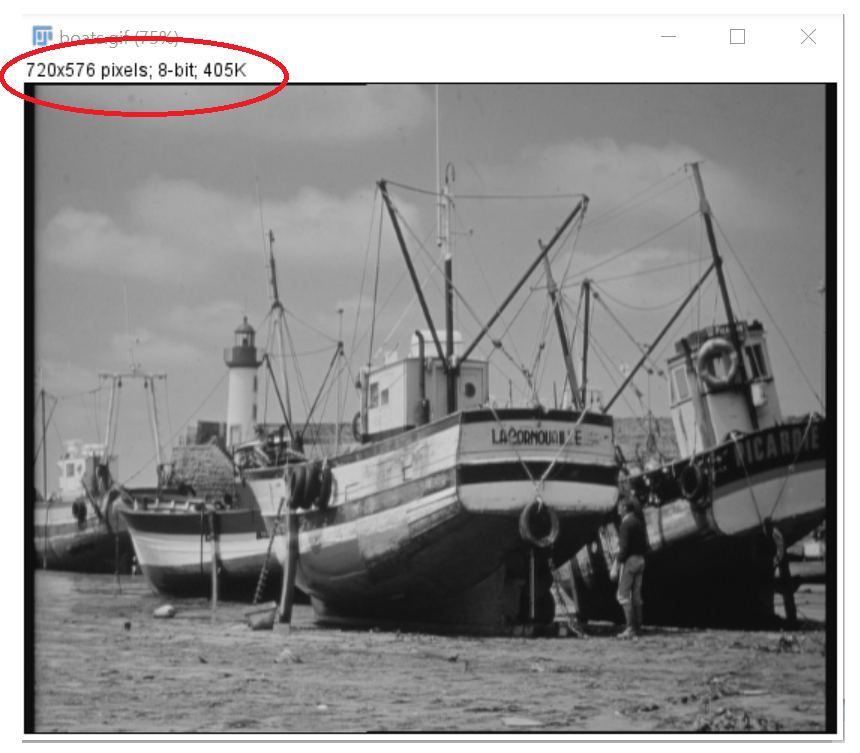
- The image frame also displays information about the file:
- Size in pixels
- Bit-depth (8-bit)
- File size

What is bit depth?
Bit depth is the range in which the values in your image exist. An 8-bit image has 28 possible values for each pixel. This is a range from 0-255.
- It is important to think about bit depth when capturing and analysing images.
- You want to capture as much of the variation in intensities across your subject as possible.
- This means having your brightest pixels close to (but not at) the limit of your range (here 255).
Exercise 2 - exploring the histogram:
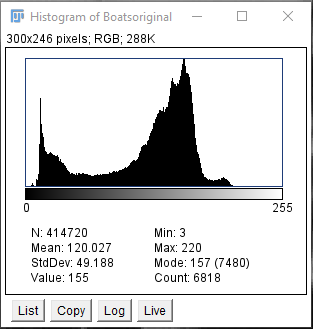
- Type "Histogram" into the search bar
- Explore the hostogram with your cursor
- Pixel values and counts
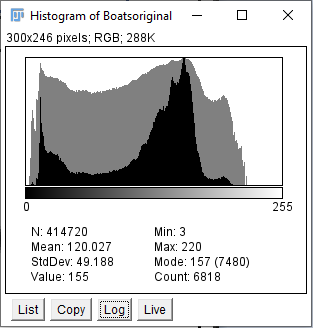
- Try switching the y-axis to a log scale. This can be very useful is you have few regions of differing signal.
- Open the downloaded images from Images > Histogram Exercise
- You can simply drag and drop images into Fiji to open them
- Use the histogram to decide which image is the best and why
Now that you're familiar with looking at pixel values, let's have a look at some biological images.
Tip: the toolbar can easily become buried below a multitude of windows. Just select an image and press Enter to bring it to the top again.
Tip: You may also struggle to find particular windows in a crowded environment. To navigate to a specific window select "Window" in the toolbar and limply click on your window of choice.
Modifying image appearance
Brightness & Contrast
- Select the Brightness & Contract tool
- Search bar or Image > Adjust > Brightness/Contrast
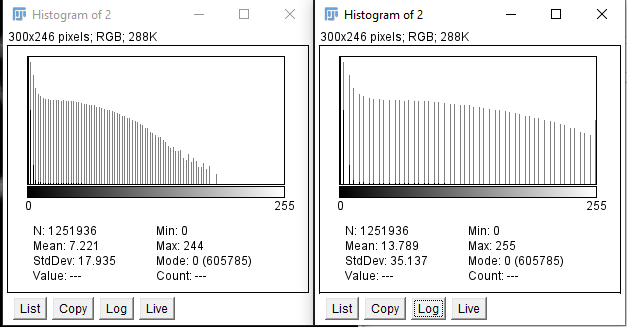
- Try adjusting the Minimum and Maximum settings, see how this is adjusting the histogram displayed above
- You are adjusting how the values in the image are displayed across the 256 value range (8bit) of the image
- This can be very useful for making faint signal easier to see, or hiding background signal
- Currently only way the values are being displayed is altered
- Press "Apply", and the actual values in the image are altered
Tip: Be extremely careful when "Applying" brightness changes, especially when perforing quantitative analysis. Always keep raw copies of your images
Exercise 3: Try this out and look at your image histograms when the Brightness & Contrast changes are applied
Brightness & Contrast
- Despite representing colour signal, fluorescence images are always greyscale and have no inherent colour value
- Colour pallets can be applied to the values in images to:
- Make them look nice
- Highlight features of interest
- Diplay multiple overlayed images
- Image > Lookup Tables
Exercise 4: Exploring LUTs
- Try out some lookup tables and save your new colourful image
- Try opening it in another program e.g. Photos (in Windows)
- What's going on and why?!?
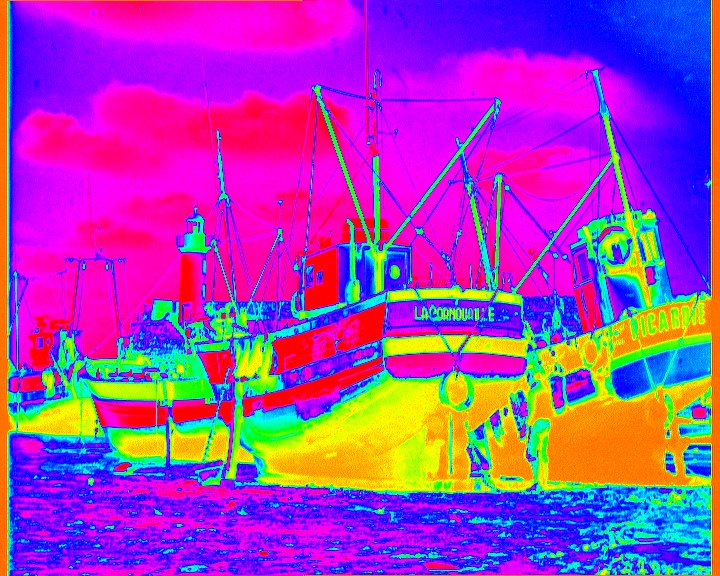
Image Files
The way your image data is saved can greatly alter how it appears and the analysis which can be performed on it.
- In the previous example a single value could be seen for each pixel in the toolbar when hovering a cursor over it
- This is because it is a greyscale image. The colour assigned to it in Fiji will typically not be recognised in other software
- In the previous example a single value could be seen for each pixel in the toolbar when hovering a cursor over it
- The alternative format which is used for colour images is RGB
Exercise 4: Converting to RGB
- Convert your coloured imaged to become an "RGB Color" Image
- Image > Type > RGB Colour
- Hover your cursor over the image again and look at the corresponding values displayed in the toolbar
- You now have three values for each pixel
- These values reflect the red, green and blue content of each pixel
- Try saving this image again and opening it in another program as before
- You should find the colour is preserved
Tip: In addition to preserving the colour of an image

Exercise 5: Stack images
- Open the pre-installed sample image "FluorescentCells.tif"
- Search in the toolbar or File > Open Samples > FluorescentCells
- Hover over the image again and look ar the values
- This image has multiple colours, but is not RGB
- It is a stack image (aka composite image), showing multiple greyscale images together
- Scroll through these different images using the "C" (channel") slider on the bottom and note the change in information (and colour) in the display above the image
- As with a single greyscale image, these images can be manipulated separately e.g. Brightness & Contrast alterations
- Stacks can be separated into individual images
- Image > Stacks > Stack to Images
- Or individual images can be combined into new stacks
- Image > Color > Merge Channels
- This is a very effective way of storing multi-dimensional image data
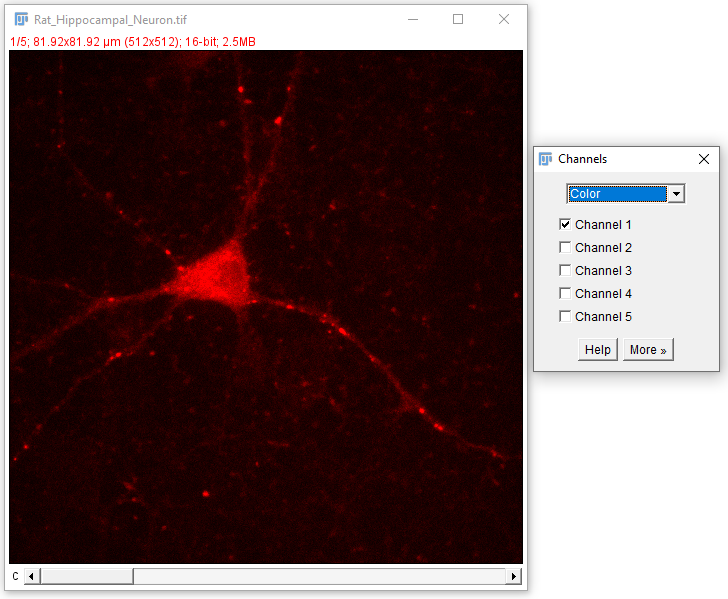
- Now open the pre-installed sample image "Neuron (5 Channels)"
- You'll notice that this is a multidimensional stack, but is showing each image separately
- Open the Channels Tool
- Image > Color > Channels Tool
- You can alter how the stack is displayed using the drop down menu, and turn channels on and off
Note: This is another file format which will confuse many programs, which will only diplay the first greyscale image in a stack, not their colurful combination
Exercise 6: Metadata
- Metadata is all the extra information recorded about you image
- View this for an open image by typing "Ctrl+I"
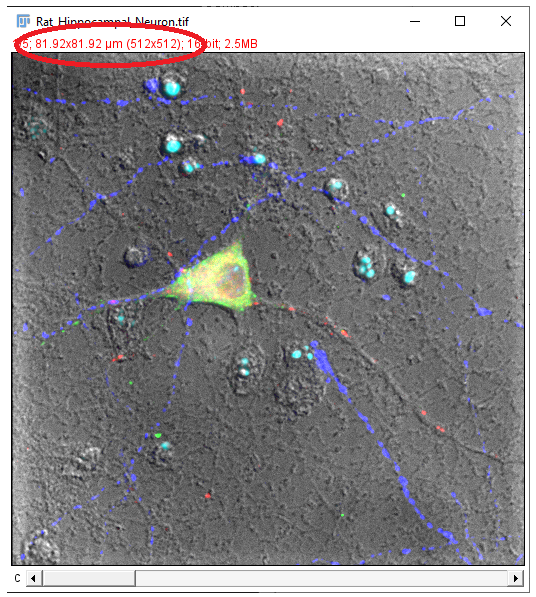
- Have a look at the metadata for the Neuron image
- Note that the dimensions of this image are displayed above it both in um and in pixels (in brackets). This is because the scale of the image has been recorded automatically in the image metadata, then reapplied upon opening the image
- Metadata is extremely useful when processing and analysing images
- Note: Metadata can be easily lost when re-saving images. This is another reason to be sure to preserve a raw copy of your images.
File Formats
A large and growing number of image file formats exist, with the newest being a range of proprietary file e.g. lif, lof, nd2 etc.
It is important to carefully consider your choice of file format. As this can have a significant impact on how your image can be used.
For more information on the topic see the relevant chapter of Pete Bankhead's Bioimage book where he covers the topic very clearly in much more detail.
Opening files:
- Fiji comes with the Bioformats plugin installed by default
- This is able to open >150 different image file types
- A vital first step for malking analytical pipelies widely applicable
Saving files
- Good for Whatsapp sharing, not good for analysis
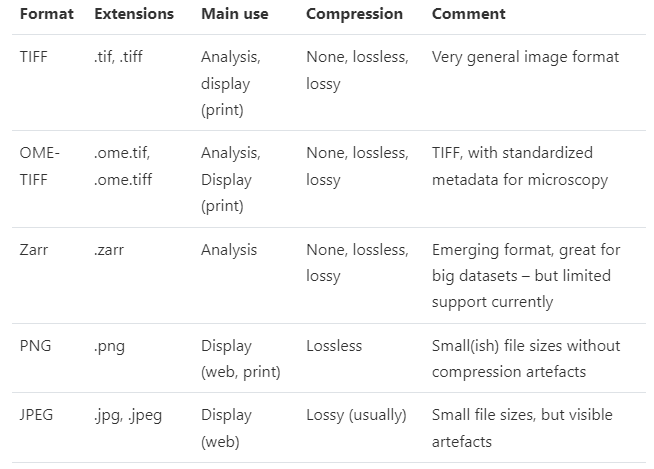 Table copied from https://bioimagebook.github.io/chapters/1-concepts/6-files/files.html
Home | Next Page >>